If you own an AR-15, you should absolutely know how to work on it.
If shit hits the fan, and your AR-15 stops working, you’re not going to be able to roll into your local gun shop to have them fix it. You’re going to have to be able to diagnose and correct the issues yourself. Take the time now to become proficient with the maintenance of the firearms you own.
If you need one tool to handle most of the maintenance needs of an AR-15, I’d take a hard look at the Wheeler Delta Series Compact Multi-Tool. It’s a great tool for the gunsmithing bench, the range, or out in the field.
The heart of your AR-15 is the bolt carrier group. After reading this blog, you’ll be able to fully disassemble and clean your bolt carrier group and keep your rifle in the fight.
What Is a Bolt Carrier Group?
The bolt carrier group (BCG) is one of the most important moving parts in the AR-15. The bolt carrier group takes the brunt of the recoil produced by the gas system while reliably cycling, ejecting, and chambering ammunition.
The bolt carrier group is responsible for the following 4 critical steps
Allowing the firing pin to strike the primer on the chambered round
Grabbing onto and ejecting the spent casing from the fired round
Resetting the hammer in the lower receiver
Grabbing onto a new round from the magazine and chambering it
As you can see, without a properly maintained bolt carrier group, your AR will not function correctly at all.
Every AR-15 owner should keep a spare parts kit, especially for the bolt carrier group. It’s a cheap insurance policy and will give you peace of mind when and if something goes wrong.
Here are the spare parts we recommend keeping on hand for your bolt carrier group.
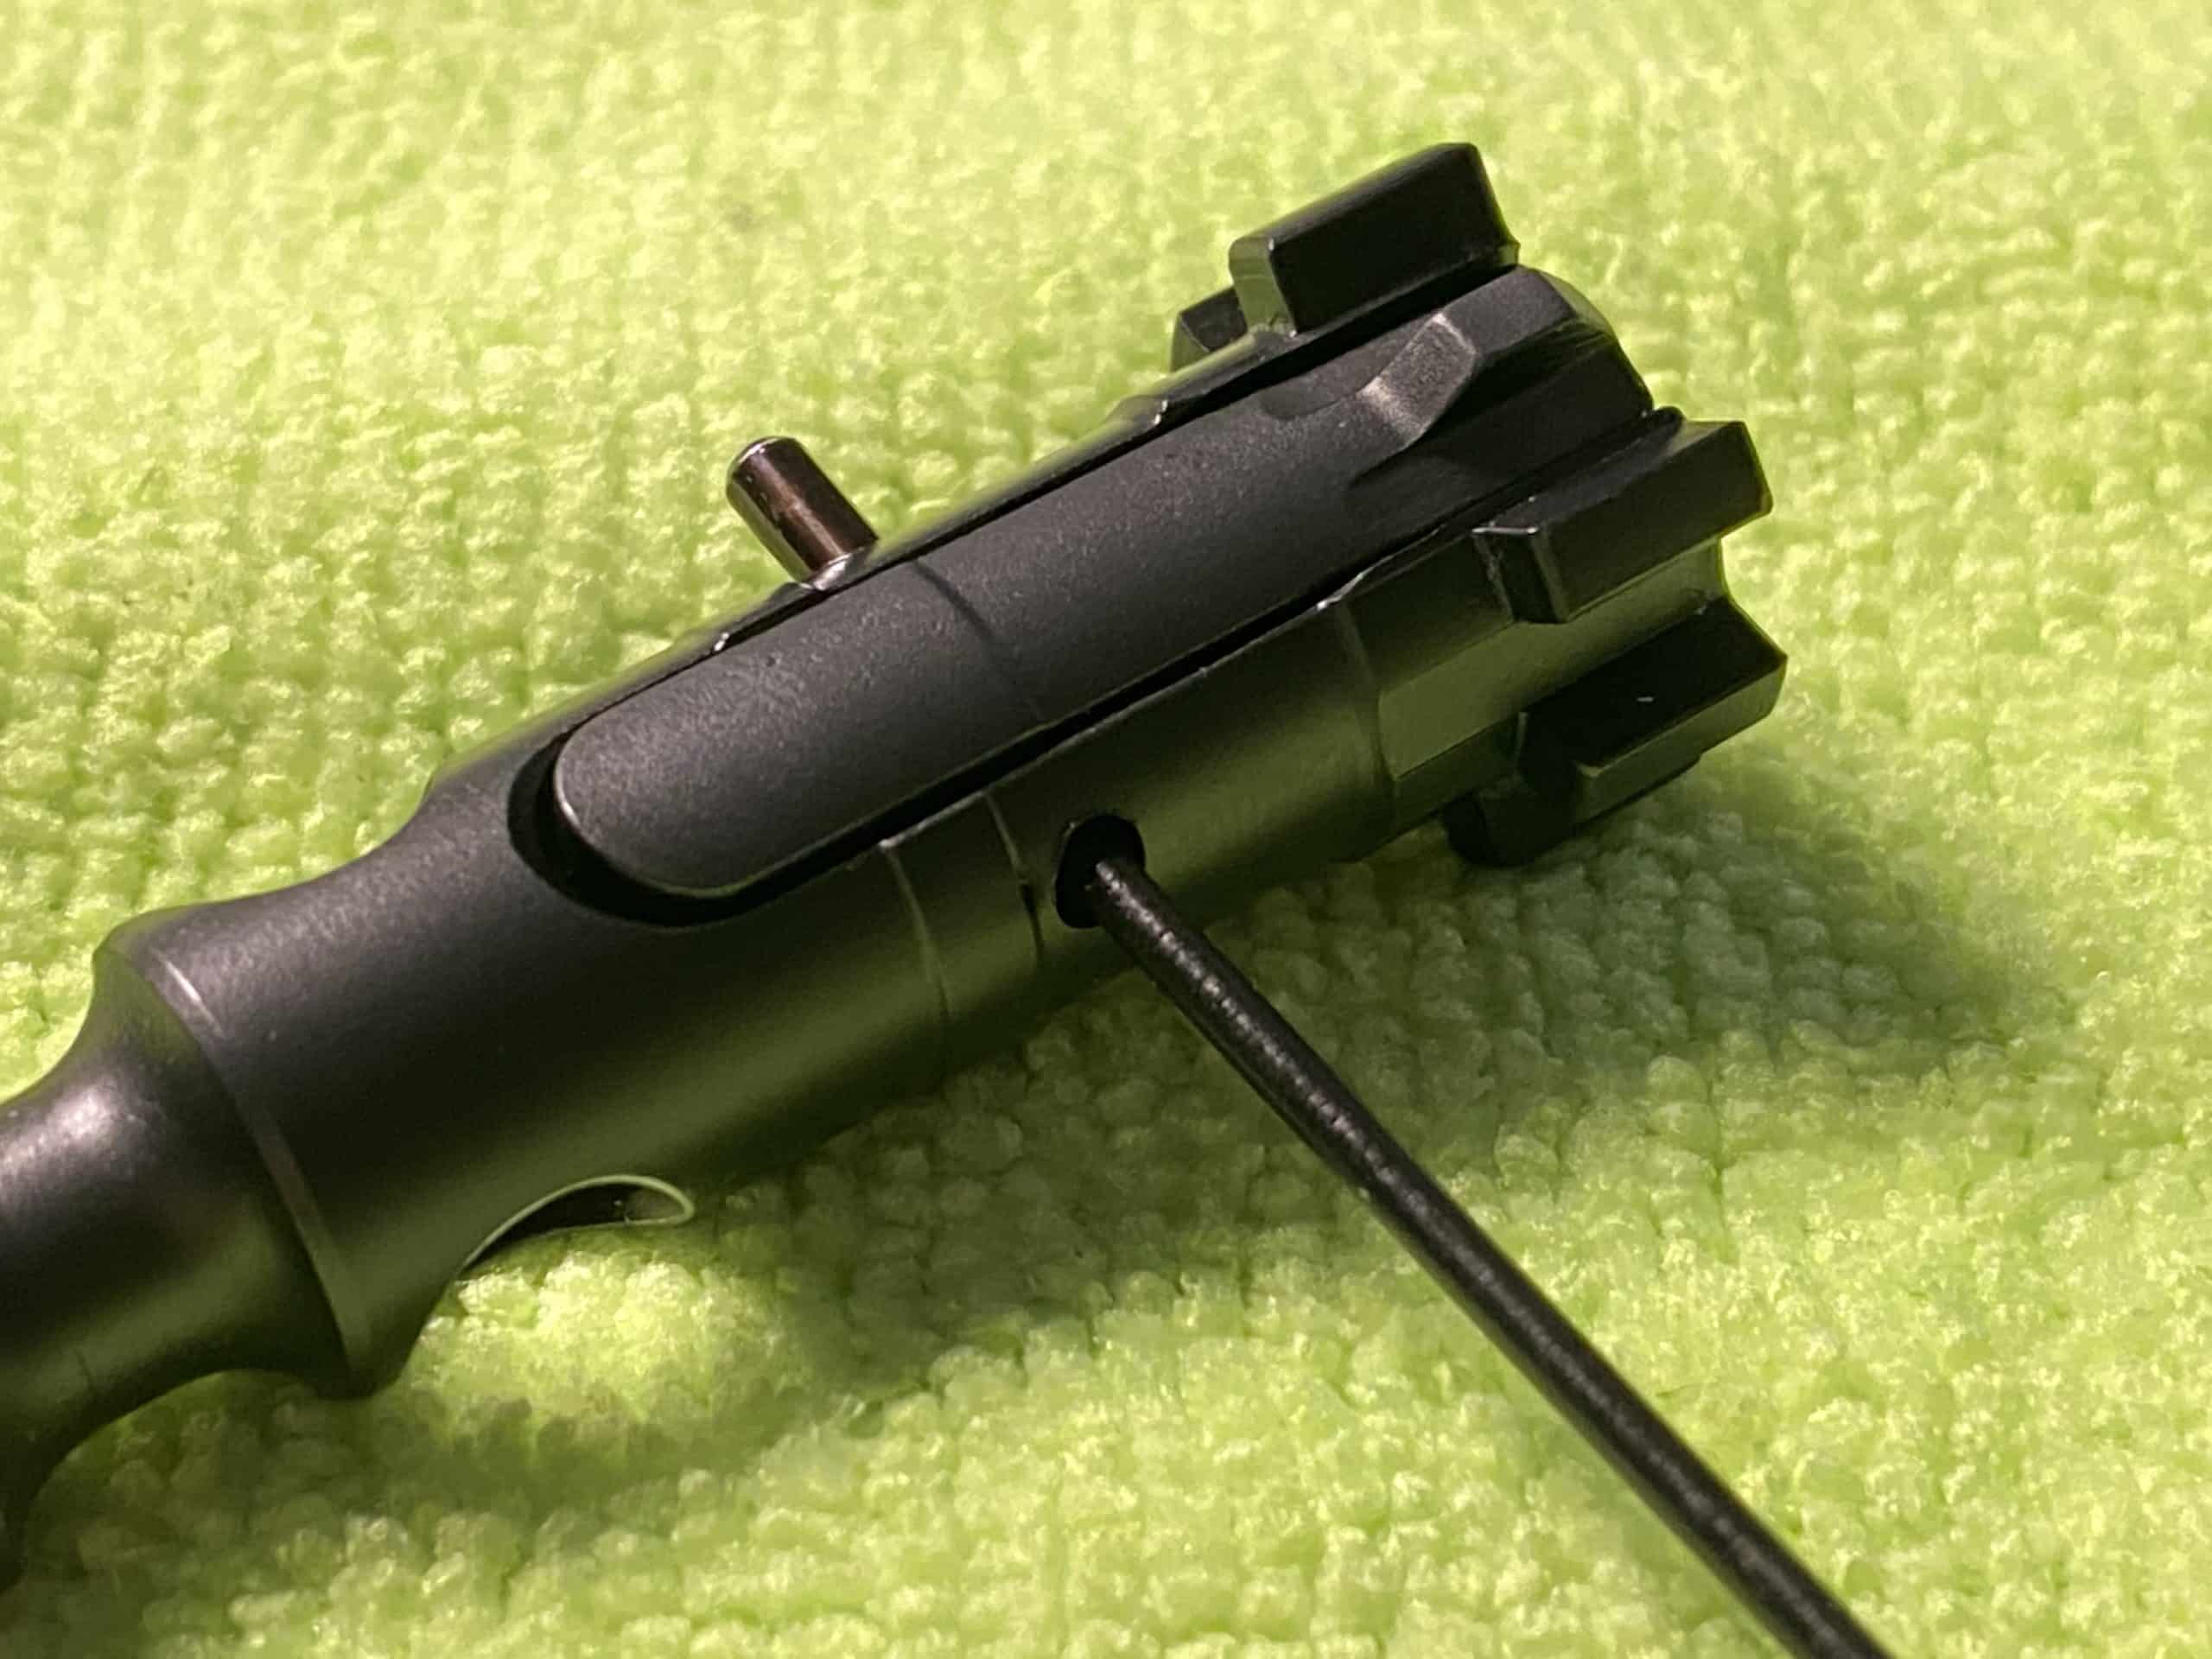
Step 1 – Remove The Firing Pin Retaining Pin and Firing Pin
First is the removal of the firing pin retaining pin. This is a small pin on the non-serrated side of the bolt carrier group and can be removed with needle nose pliers, a multi-tool, a small punch, or the tip of a bullet.
Once the firing pin retaining pin has been removed, the firing pin should easily fall out by tapping the rear of the bolt carrier group on your flat working surface.
Step 2 – Remove the CAM Pin and Bolt
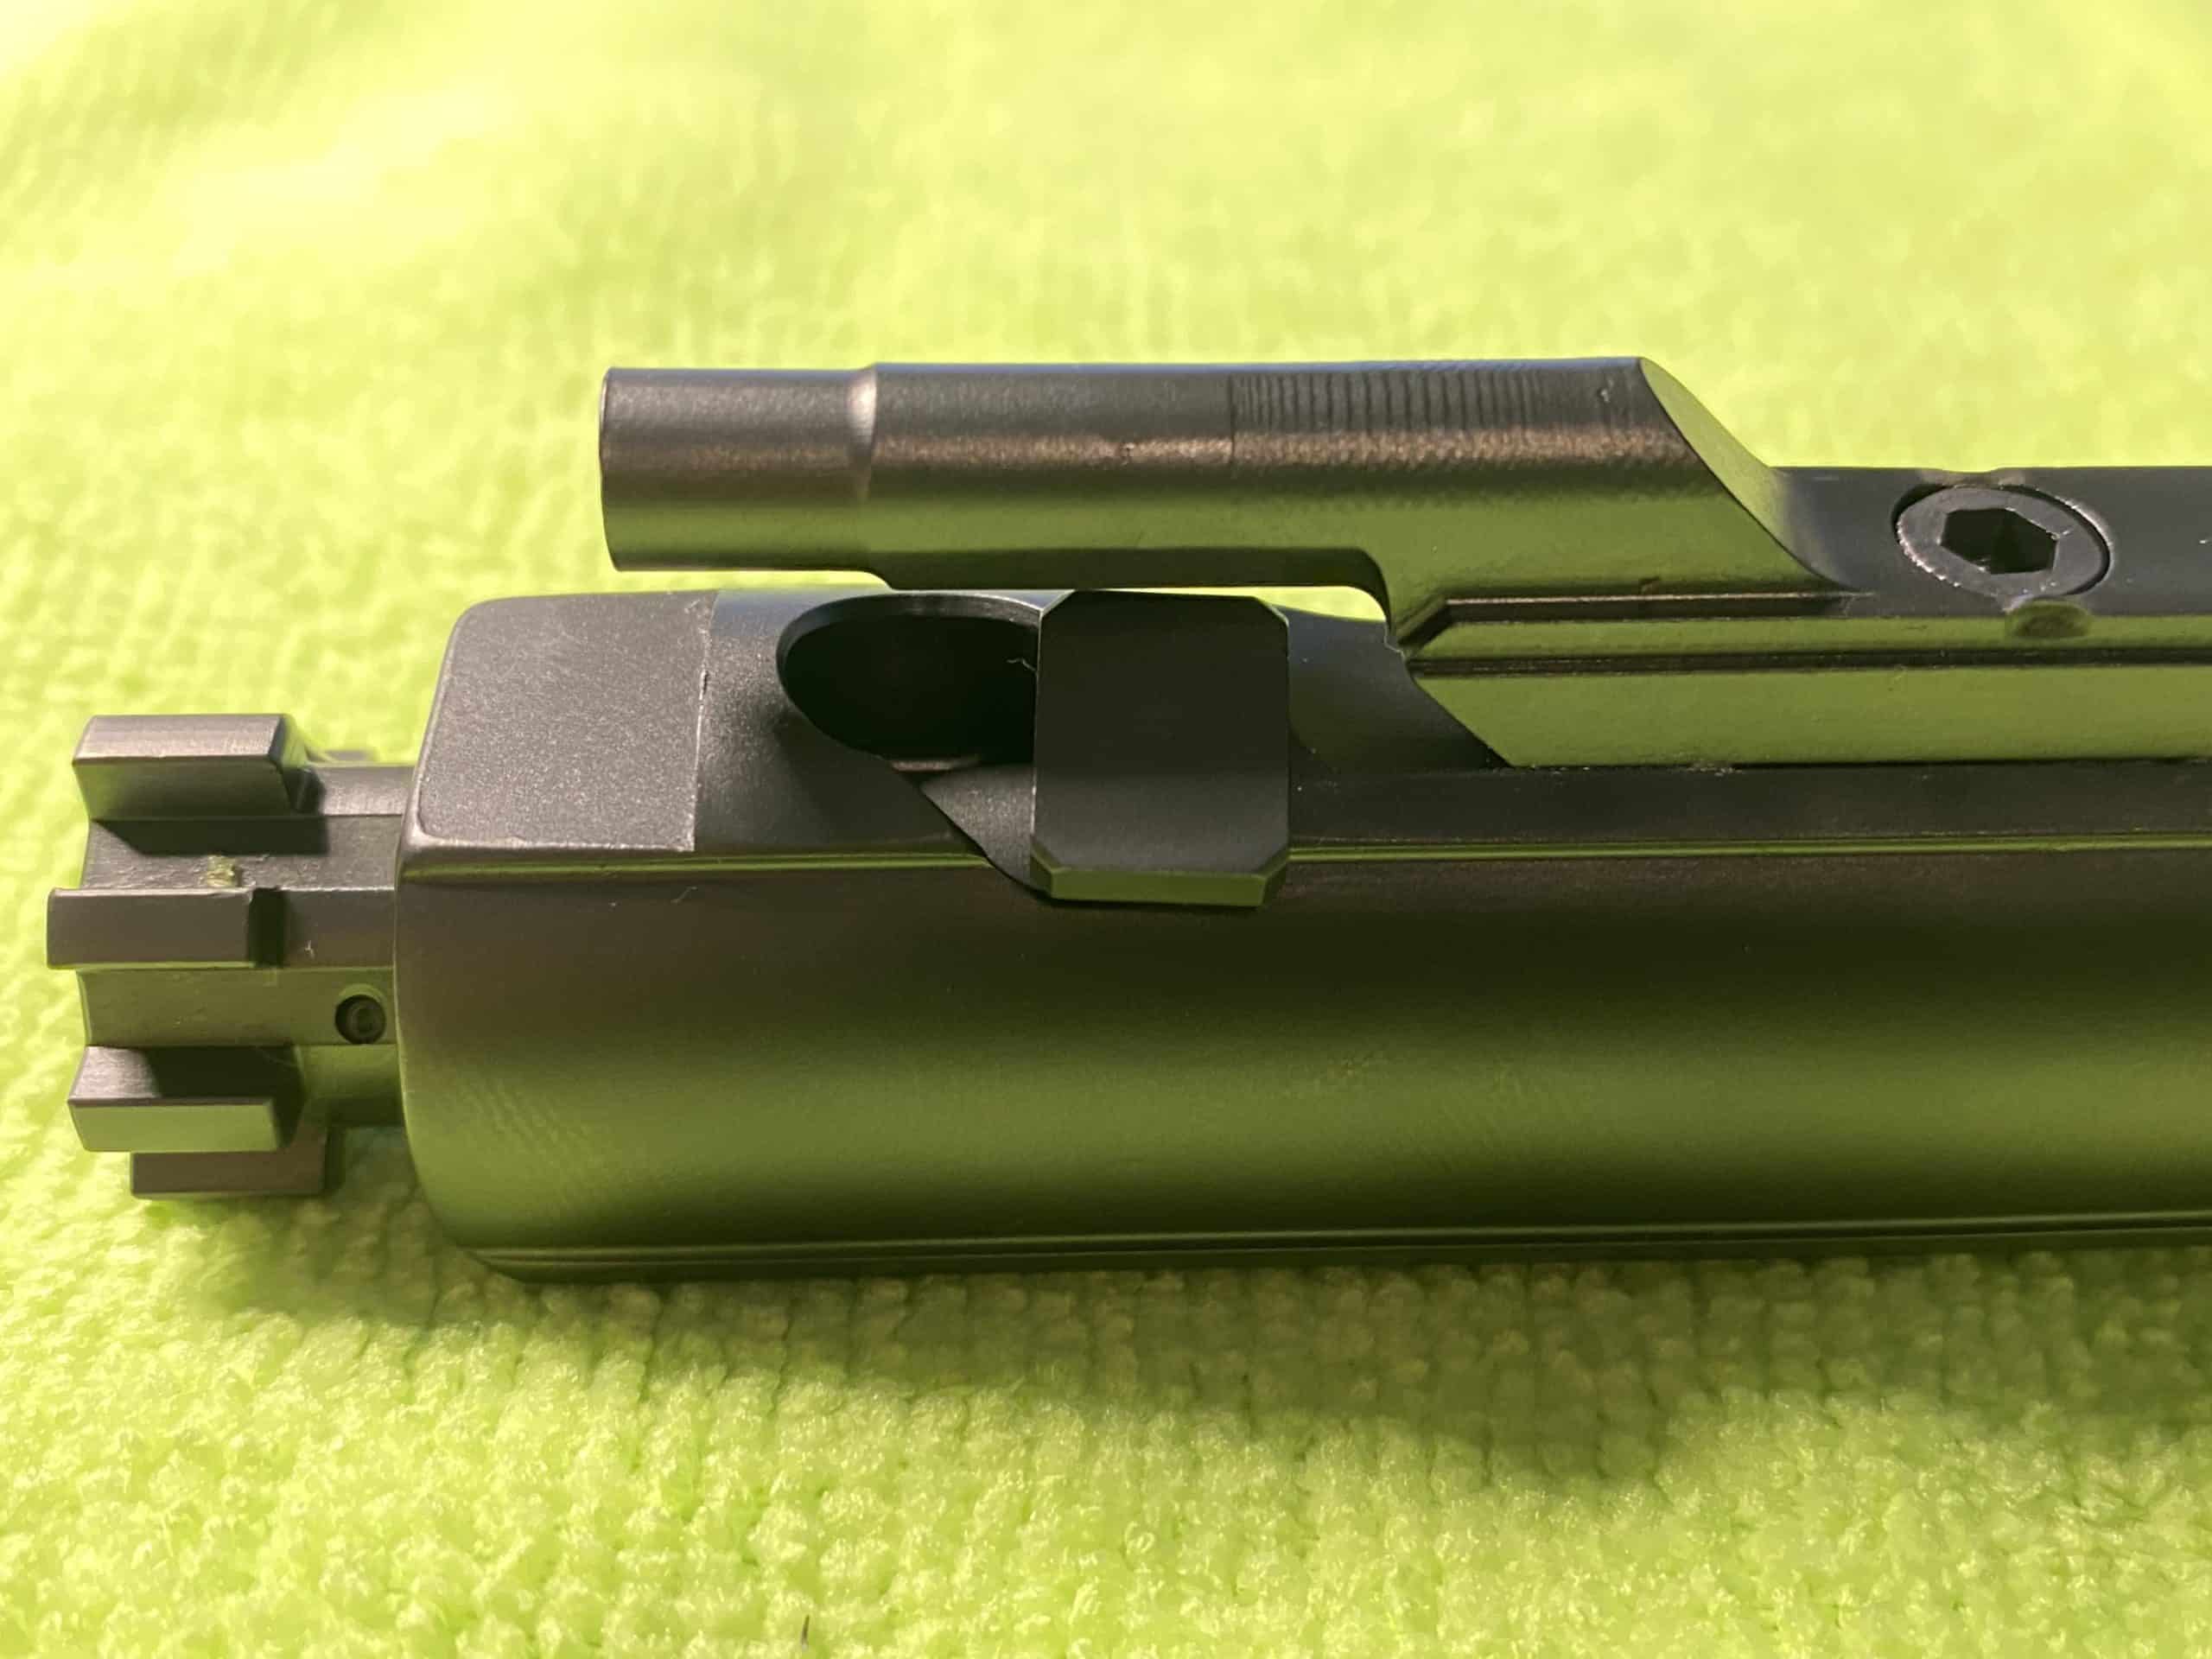
The next step is to remove the CAM pin which retains the bolt inside the carrier group. The CAM pin is located just under the gas key. To remove it, you first have to push the bolt into the body of the bolt carrier.
CAM pin locked into place
rotated to removal position
Once the bolt is fully forward, you’ll be able to rotate the CAM pin 90 degrees in either direction and pull it straight out.
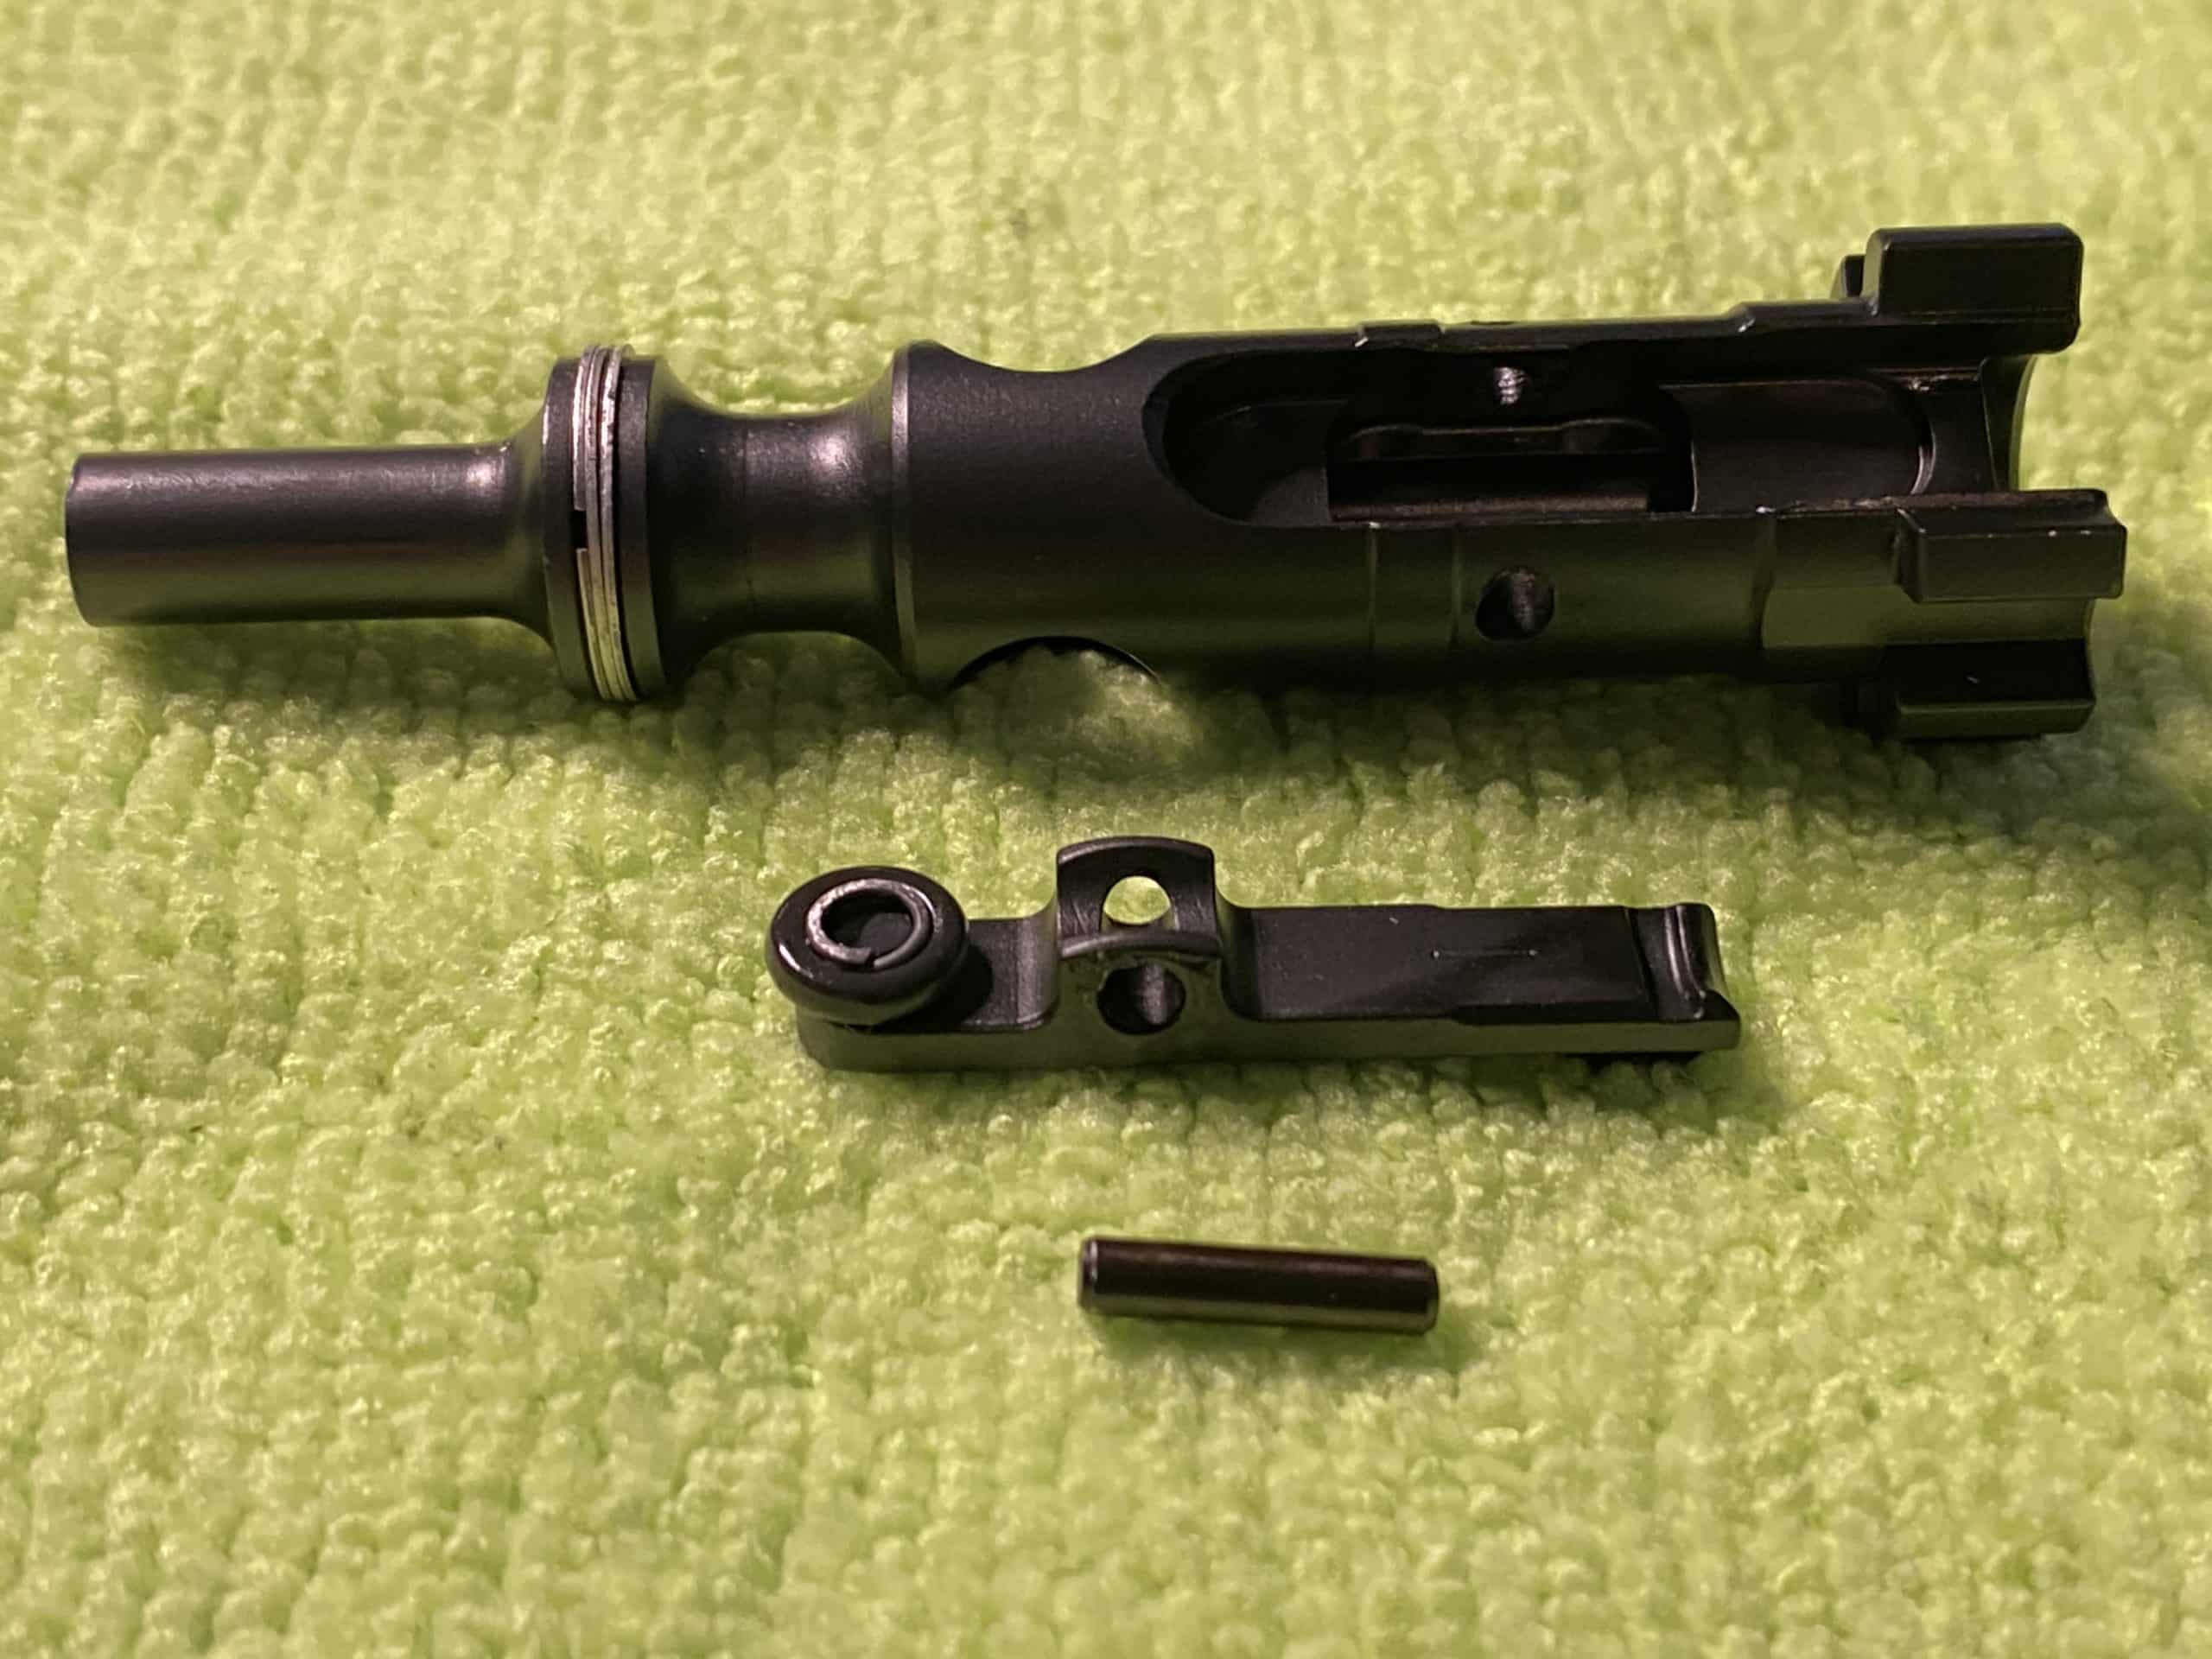
Once the CAM pin is removed the bolt can be pulled out of the carrier.
Bolt and CAM pin removed from carrier
Most stop here, but we recommend the disassembly of the bolt itself so that you can inspect the extractor, o-ring, and spring.
Step 3 – Remove the Extractor from the Bolt
To remove the extractor, you’re going to need your small gunsmithing punch to drive out the small extractor pin. While you are doing this, keeping pressure on the extractor will allow the pin to come out easier.
Using a punch to drift out the pin
extractor removed from bolt
Once the small pin has been removed, you can slowly lift the extractor off the bolt, as not to lose the small spring.
Gun Cleaning Supplies for Cleaning the Bolt Carrier Group
Cleaning the bolt carrier assembly is relatively easy once disassembly is complete.
If the bolt carrier group is not properly cleaned, carbon will build up to the point where the firing pin won’t fully strike the primer, or the bolt itself may not go fully into battery, causing extraction issues.
The best way to begin the cleaning process is to coat the disassembled parts with the Breakthrough Clean CLP. Let that sit for a few minutes to fully break down the carbon buildup.
Cleaning the Extractor
Let’s focus on the small groove on the tip of the extractor. This is commonly overlooked and can cause a host of issues if not properly maintained. This groove catches the rim of your case and pulls (extracts) it out of the chamber.
If that groove has carbon built up in it, the extractor cannot firmly grasp the rim of the expended casing, likely causing a failure to extract, followed by the next round from the magazine being fed into the back of the case that didn’t extract; a double feed.
We can prevent these malfunctions from happening by simply cleaning the extractor groove.
Extractor groove
Take a small screwdriver, a toothpick, dental pick, or AR15 multi-tool and scrape out all the carbon buildup. Use a small power swab with the Breakthrough Clean CLP to break things loose if it’s really built up and to help mitigate further buildup.
Take a few seconds to clean out the cutout in the bolt where the extractor sits.
PRO TIP – Put a drop of oil on the small extractor pin to allow the extractor itself to pivot more freely during use.
Cleaning the Firing Pin
This is pretty self-explanatory, but assumption is the mother of all F@#$ up’s, so we’ll briefly cover this part.
Basically, you want to ensure that there is ZERO carbon buildup on the firing pin. Any carbon buildup left on the firing pin will impede its movement inside the bolt carrier group and cause light strike malfunctions.
Coat it with CLP, scrape any carbon off, and wipe it down. Done.
Cleaning the Main Bolt Carrier Body
Pay special attention to the areas inside the body. This is where most of the carbon buildup is going to occur. Too much carbon buildup will impede the movement of the bolt and firing pin and we don’t want that.
I know I sound like a broken record when I say this, but coat it with the Breakthrough Clean CLP and let it sit for 2 or 3 minutes. Then scrape it using an AR15 multi-tool or bronze bore brush. Use power swabs to remove any and all loose carbon and any excess CLP.
Fully disassembled bolt carrier group
PRO TIP – The main thing is to NOT leave so much oil on the parts that they attract dirt, sand, etc., but to have enough oil for the parts to not wear during normal operation, nor develop surface rust if they sit for a while.
Conclusion
Once you’re done with the cleaning, reassembly is just the opposite of the disassembly instructions above. Be sure to function check everything and get back out on the range!
To ensure you’re not missing our content, you can have it delivered to your email inbox. Just sign up below and stay informed of new content and exclusive deals only our email subscribers know about.
SUBSCRIBE TO RECEIVE OUR LATEST BLOG POSTS
Stay Tuned to the RE Factor Tactical Blog and be part of this all VETERAN-run website. Be sure to follow us on Facebook, Instagram, and LinkedIn for exclusive content and deals.
Check out our DAILY DEALS page for industry deals and discounts.


Leave a Reply
Your email address will not be published. Required fields are marked *