Overview
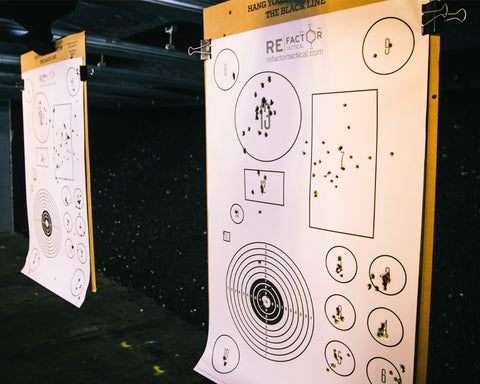
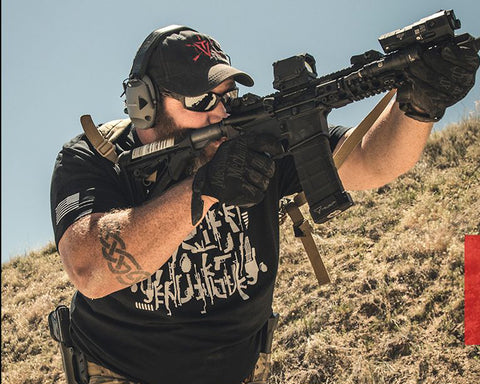
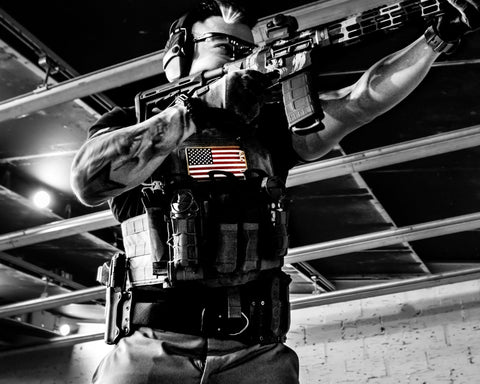
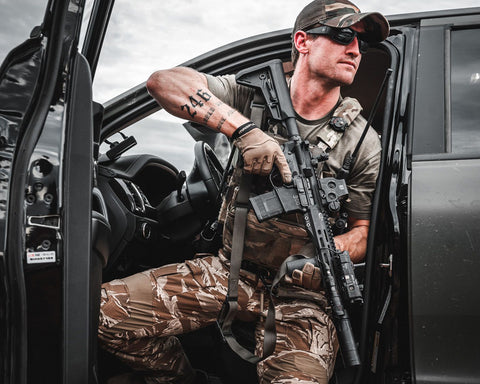
The Hammer Drill is intended to be completed on our Human Resources Target. This rifle drill focuses on several different aspects of shooting to include; trigger speed, proper trigger manipulation, recoil management, target identification, and target transitions. This drill can be as easy or difficult as the shooter chooses to make it by increasing the distance to the target, changing shooting stances/ shooting platform, adding additional target variations, or throwing a speed reload/ malfunction into the mix mid-drill. Three demanding variations for the Hammer Drill have been added below for intermediate to advanced shooters.
Human Resources Target
The Human Resources Target was developed at the request of a Special Operations unit and contains five different variations to provide an endless possibility of drills and training applications to include flat-range shooting and CQB/shoot-house training. Each target has a differentiating shape, color, letter, and number combination within their head, chest, and thoracic cavity target zones. These zones are based on the average human height and width of each area. Additionally, we have included two more shapes on either side of the head that also have differentiating color, number, letter, and shape schemes that can be used for scenario-specific training such as hostage rescue or high-value target training
Setup
We recommend the shooter stands and faces the target at the 7-15 yard line for the first iteration. The shooter may move further back after this rifle drill is mastered, or if the shooter is training for scenario-specific purposes such as barricade shooting or intermediate to long range shooting. The Shooter should begin the drill from the low ready or ten-gun position. The shooter will need to have a total of at least (9) rounds between the primary and secondary weapons (if applicable).
Drill
At the sound of the buzzer, the shooter will face the target and fire a total of (9) rounds at the target as quickly and accurately as possible. The first (3) rounds will be fired at the T-box representing an immediate kill shot to the head. The next (3) rounds will be fired at the circle that’s located center chest that represents vital organs such as the heart and lungs. The remaining (3) rounds will be fired to the upside-down triangle representing the pelvic girdle.
Explanation
This rifle drill should be fired from top to bottom specifically because the shooter will be forced to combat the natural muzzle climb of the weapon between target transitions. The muzzle of your rifle will naturally climb upward after each shot. This makes shooting from the top down substantially more difficult and will force the shooter to focus on muzzle control and recoil management. In this drill focus on keeping your muzzle as flat as possible between shots to make transitioning to the next lower section of the target more natural and efficient.
Variations
- Variation 1 Turn this drill into a moving drill. Begin this drill at the 25-yard line. Fire the first (3) rounds to the T-box from the prone position. Immediately get up and sprint to the 15-yard line and fire the next (3) rounds to the center circle from the standing or kneeling position. Stand and sprint to the 7-yard line and fire the remaining (3) rounds to the pelvic girdle on the move from the 7 to the 3-yard line. Your stopping point will be the 3- yard line or when your final (3) rounds have been fired.
- Variation 2 Induce an “unplanned” malfunction or speed reload to your primary weapon by having a partner load an unknown number of rounds or dummy round(s) into your primary magazine. Depending on the shooter’s distance from the target, the shooter will either have to clear the malfunction before continuing the course of fire or transition to his/her secondary weapon to continue the drill.
- Variation 3 Have a partner place all five variations of the Human Resources Target online horizontally. The shooter should remain facing up range (away from the targets) until the drill begins so that he/she does not know the target order. After returning to the firing line, the partner will call out three specific shooting zones; one T-box, one chest cavity, and one pelvic girdle (in this order). This can be done in several ways.
An example of this would be the partner telling the shooter to fire at the White T-box, Green Chest Cavity, and Yellow Pelvic Girdle. Since none of these three zones are on the same target, the shooter will have to identify the correct targets and transition between them to finish the drill. For maximum difficulty, each shooting zone should be on a different target to force the shooter to properly identify each target before completing the rifle drill. Distance to target, adding a malfunction or reload, and shooting on the move can also be added to this variation of the Hammer Drill in order to make it extremely difficult.


Leave a Reply
Your email address will not be published. Required fields are marked *