
If you carry concealed or have a firearm for home defense, one of the concepts you need to be aware of is shot placement in relation to human targeting.
Rather than debating on what caliber will do the most damage consider your shot placement.
When talking about shot placement on a human, depending on where you hit will determine how long the threat will continue to be a threat.

Welcome to the timers and switches of human targeting.
Timers
A timer is started as soon as a bullet impacts the human body. Depending on where the bullet impacts and the number of impacts will determine how fast that timer will expire.
Once the timer expires so does the threat. So where on the human body will start the said timer?
The most common is the high chest area (high A zone). By putting rounds in the high chest area you are in effect hitting the lungs and possibly the heart.
Aiming for the heart and lungs is where most people practice for. It makes sense and is the largest area of the human body to aim for. The body can survive roughly three to ten minutes after you blow the heart or lungs out.
Do you want to fight a guy for three to minutes who knows that he is going to die? Probably not. He’s got nothing to lose at that point.
The next best shot to take is the one that incapacitates the threat immediately; the kill switch.
The Kill Switch
A kill switch is a specific area of the human body when impacted by a bullet, will dispatch the threat immediately.
There are two primary areas of the human body that are considered a kill switch. Those two areas are the head and the spine.

We’ve seen active shooter events in the past where the shooter was wearing body armor. In this scenario, the only option for immediately disabling the threat is a headshot or the neck.
In a recent course I attended, this is why the instructor focused on accuracy at 25 yards.
An accurate shot to the neck will penetrate through to the spine causing immediate incapacitation.

Human Targeting
Once you have a basic understanding of timers and switches, you can now work on where to aim in order to stop or dispatch the threat.
Depending on the clothing worn you can identify a prominent point to aim at, whether that is a logo, a word, a letter, or a button.
You need to know where to target a human in order to effect the most rapid incapacitation and where on the body to aim in order to do that.
Now, what if the threat is not static presenting to you a perfect square target?
Chances are you may have to take a shot from another angle. When you do that you need to know where to aim from those other angles in order to start a timer or flip the switch off.
What if you’re standing at a 90-degree angle to the active shooter? Where would you aim for the kill switch?
For me, I’m going for the ear. By aiming at the ear, the bullet will impact the brain/head, thus hitting the kill switch to stop the threat where they stand. Lights out.
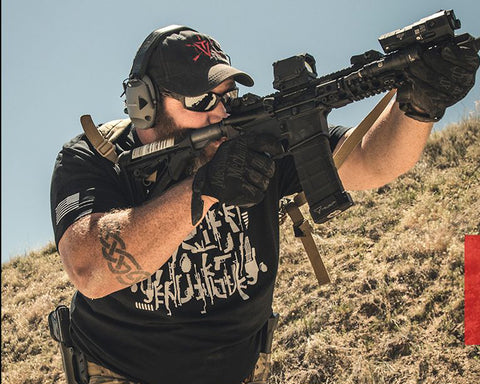
This all, obviously, requires A LOT of practice. To become proficient in taking these shots under stress, you’re going to need to put the reps in.
Pro Tip – Use a shot timer to induce a little stress. Just knowing that you’re waiting for that timer to go off and that your shots are being timed dials up the anxiety a bit. Want to step it up even more? Have a buddy control the shot time so you’re 100% not aware of when it’s going to start. In addition to that, you’ve got somebody now watching you which adds to the anxiety level.

Practice Practice Practice
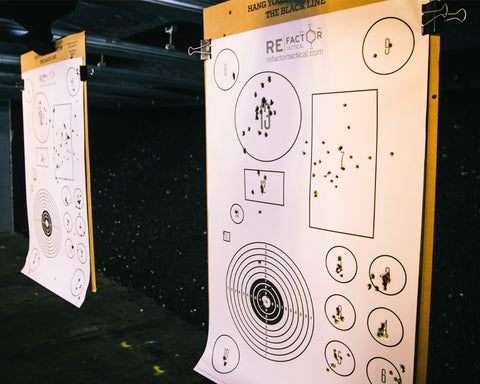
Next time you go to the range to practice, have a game plan. Don’t just go through the motions of slinging lead downrange. Practice A-zone hits and headshots.
Start at 7 yards, go slow, and focus on all the fundamentals. Once you are confident at hitting those specific areas at 7 yards, then move your target out to 10 yards and repeat the process.
Work your way out to 25 yards until you are certain, without a doubt, that you can make that shot.
Read Next
- Stretch The Distance Of Your Pistol With New Sights and a Match Grade Barrel
- Best 9mm Ammo For Self Defense
- FREE Printable Shooting Targets
Stay Tuned to the RE Factor Tactical Blog and be part of this all VETERAN-run website. Be sure to follow us on Facebook, Instagram, and LinkedIn for exclusive content and deals.
Check out our DAILY DEALS page for industry deals and discounts.
Visit our Amazon Influencer Page for more products we recommend: https://www.amazon.com/shop/refactortactical
Leave a Reply
Your email address will not be published. Required fields are marked *